Blog · OSINT & verification
How to Geolocate a Photo: OSINT Techniques Step by Step
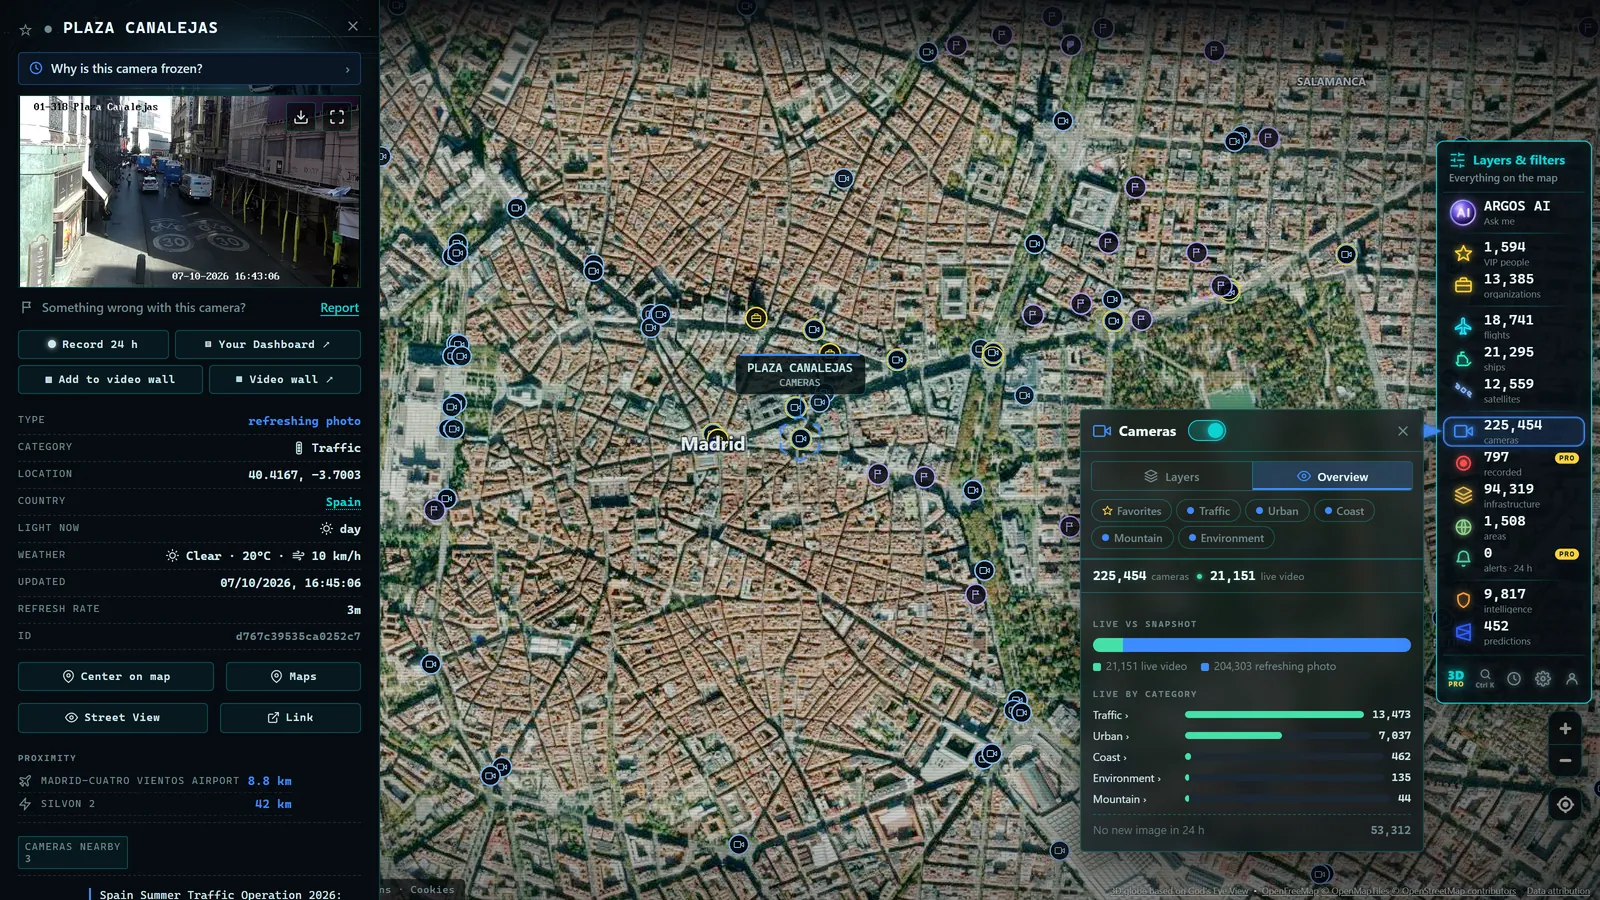
An image arrives with no context: no location, no date, no author. Can you determine where it was taken? In most cases -- provided the photo contains enough visual clues -- yes. Geolocating a photo means establishing the precise point on Earth where it was captured. It is one of the core skills of OSINT and the foundation of much of today's fact-checking journalism. The results can look like magic, but the process is methodical, learnable, and in its basic form requires nothing more than a browser, free maps, and patience.
This guide covers the two main routes to image geolocation: the fast route (metadata) and the craft route (visual analysis step by step), including the typical mistakes that lead investigators astray and the confirmation tools that separate a hunch from a solid conclusion.
Two Routes: Metadata or Visual Analysis
Every geolocation task starts at the same fork in the road. The technical route involves examining the file's metadata: if the image retains GPS coordinates, the problem is solved in under a minute. The visual route involves extracting clues from the image itself -- signs, buildings, vegetation, terrain -- and cross-referencing them with maps until the exact point is found.
The first route is fast but almost always fails, for reasons explained below. The second is slow but robust: it does not depend on anyone having preserved any data, only on your ability to observe. A competent investigator always checks the first route and masters the second.
EXIF Metadata: The Fast Route (That Rarely Works)
When a camera or smartphone captures a photo, it embeds a block of technical information in the file known as EXIF data: device model, date and time of capture, exposure settings, and -- if location services were active -- the GPS coordinates of the shot. Free metadata viewers, both online and desktop-based, surface all of this content in seconds.
If the metadata contains coordinates, you have latitude and longitude. All that remains is verifying that they are consistent with what the image shows (metadata can be forged, so a visual check is always worthwhile).
The problem is that metadata almost never survives the journey across the internet. Major platforms and social networks strip EXIF information when processing uploaded images, partly for user privacy and partly due to file recompression. Messaging applications typically do the same. The practical result: if a photo reached you through a social network or a group chat, the EXIF data is most likely empty or reduced to trivial entries.
That is why metadata is the first step, but never the plan. The plan is the visual method.
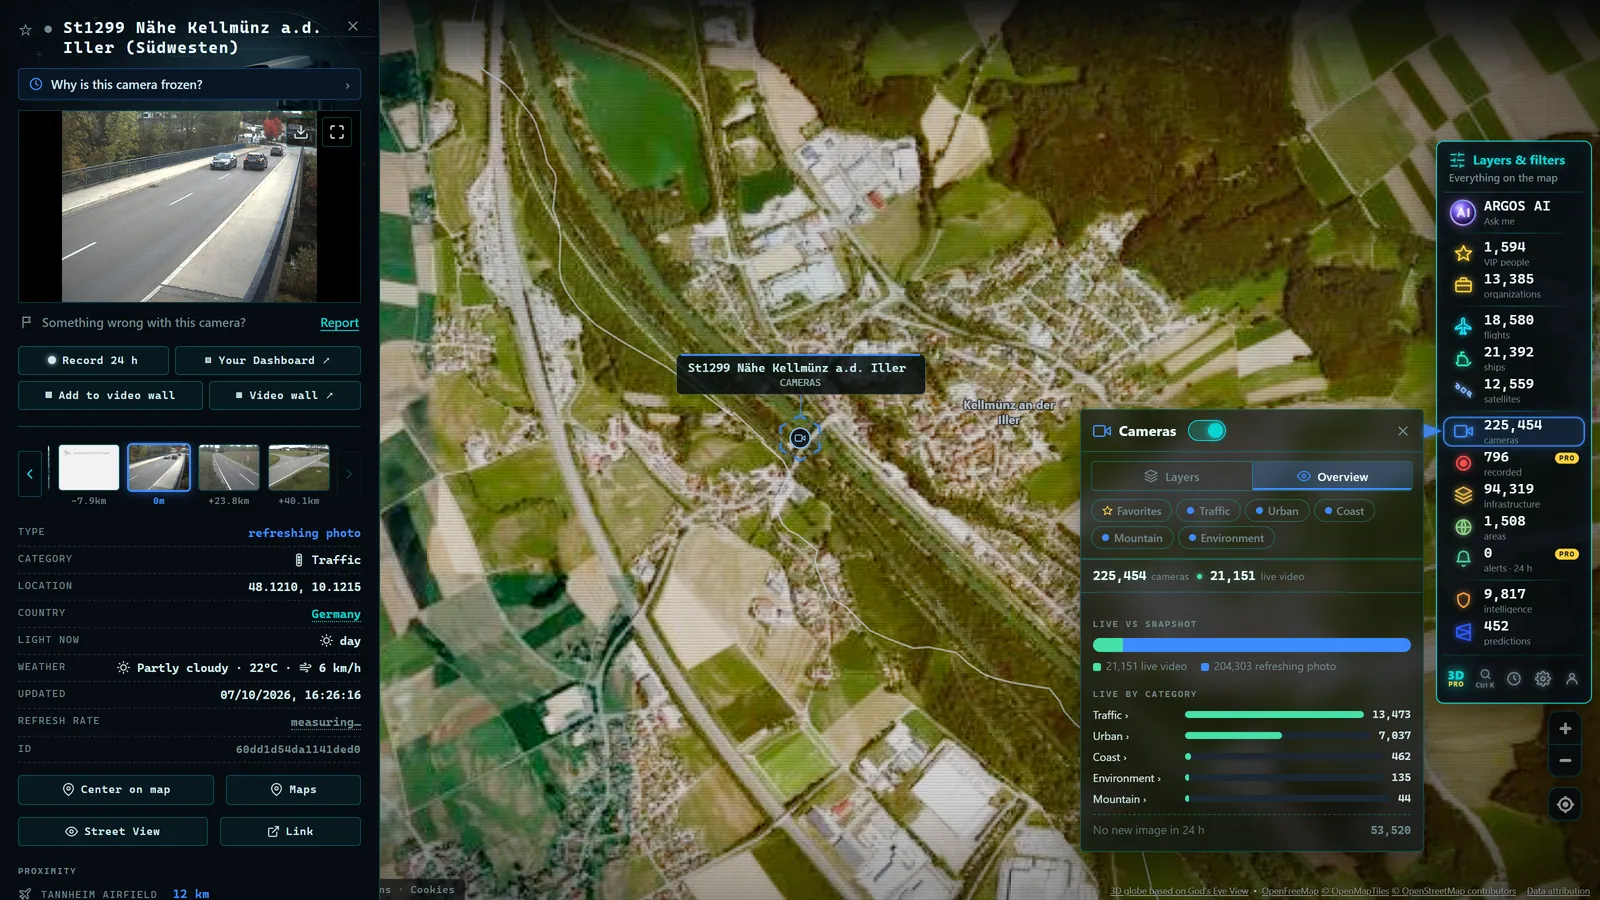
The Visual Method Step by Step
This is the heart of the discipline. The visual method converts an anonymous image into a verified location through five chained steps.
Step 1: Inventory of Clues
Before searching for anything, look. Spend several minutes examining the image systematically -- from the general to the particular -- and note everything you find:
- Language and script: signs, shop names, road markings, graffiti. The alphabet and language instantly narrow down the candidate countries.
- Licence plates and vehicles: plate formats vary by country, and the dominant vehicle models also point to a region. A US-style front-plateless car, a UK numberplate format, or a left-hand-drive versus right-hand-drive scene are all distinct signals.
- Architecture: materials, rooflines, building heights, style, overhead or underground utilities. Urban morphology is a powerful regional signature.
- Vegetation and climate: palm trees, conifers, arid scrubland, snow cover, lush grassland. Flora constrains latitude and climate zone.
- Street furniture: lamp posts, traffic lights, bins, bus shelters, bollards, road markings. Every country has standardised designs, and these are among the most underrated clues available.
- Commercial brands: shop chains, banks, telecoms operators, logos. Many brands operate only in specific countries or regions.
- Background terrain: mountains, hills, coastline, plain. The silhouette of a ridge on the horizon can be as identifying as a fingerprint -- think the distinctive profile of the Rockies, the Alps, or the Pyrenees.
Step 2: Regional Hypothesis
With the inventory in front of you, form a hypothesis: "this looks like the northeastern United States", "this fits a high-altitude Andean city", "that licence plate format belongs to Germany". Do not search for the exact point yet; aim to narrow down the candidate region. Keep the hypothesis quarantined: it is a search direction, not a conclusion.
Step 3: Reverse Image Search
Upload the image -- or crops of its most distinctive elements, such as a singular building, a monument, or a sign -- to reverse image search engines. Several are available for free, and it is worth trying more than one because their indexes differ. Two outcomes are possible: the image may already be identified in another publication (caution: verify that identification independently, do not inherit errors from a source), or visually similar places may appear that reinforce or refute your regional hypothesis.
Step 4: Confirm with Maps, Satellite View, and Street-Level Imagery
This is the decisive phase. With a candidate area established, open the cartography: the map to understand the street layout, satellite view to compare rooftops, intersections, parks, and the overall geometry, and street-level imagery for the final face-to-face comparison. Confirmation requires multiple correspondences: one matching building is not enough. The building, its neighbours, the street angle, the position of lamp posts, and the background terrain must all align simultaneously. When everything fits at once, you have the point.
A professional tip: work from the immovable to the changeable. Mountains and street layouts barely change across decades; shop signs and facade paint do. If the photo is old, commercial branding may have changed even though the location is correct.
Step 5: Shadows and Sun to Constrain the Time
A complete geolocation includes the when. Shadows in the image indicate the direction of the sun, and the sun's direction at a specific location depends on both the date and the time of day. Solar ephemeris tools such as SunCalc display the sun's path over the map for any location, date, and time. By comparing the solar azimuth implied by the shadows with those trajectories, you can constrain the time window of the capture and even rule out impossible dates. This is the technique that allows an analyst to state things like "this photo could not have been taken in the morning" -- a powerful tool for debunking manipulated timestamps.
From the ARGOS ATLAS channel.
Confirming the Current State of the Scene with Live Cameras
There is one final resource that many tutorials overlook: live public cameras. Once you have located the scene, you often need to know what that place looks like right now -- whether a photo claiming to be recent actually shows current conditions, whether the context has changed, whether what it depicts is still there.
Thousands of official bodies -- highway agencies, city authorities, port and airport operators -- publish traffic and urban cameras with known geographic positions. In the United States, state 511 systems provide extensive real-time road camera networks across dozens of states. In the United Kingdom, National Highways operates a comparable public feed covering major motorways. In France, the ASFA network does the same for toll roads. Platforms such as Argos Atlas aggregate these cameras, geolocated, on a single map: navigate to the area you have just identified and check with your own eyes the present state of the location and its actual weather conditions.
This cross-reference between a static image and a live source is especially powerful in journalistic verification, where the question is rarely only "where is this?" but also "is this from now?" The full use case is developed in the guide on live cameras as a verification tool.
Common Mistakes That Ruin Geolocations
The technique fails less often than the human applying it. These are the three errors that produce the most wrong conclusions.
Confirmation bias. You form a hypothesis, find a location that partially fits, and your brain begins ignoring the discrepancies. The antidote: invest deliberate effort in trying to prove your candidate wrong. If it survives the attack, that is a good sign.
Urban twins. Squares, industrial estates, housing developments, and stretches of motorway repeat with striking similarity across cities and even across countries. Two or three matching elements are not enough. Demand correspondence across five or six independent features before declaring a location confirmed.
Mirrored photos. Images frequently circulate flipped horizontally, sometimes to evade duplicate detection algorithms. If signs read backwards or traffic flows on the "wrong" side, flip the image and restart the analysis. More than one geolocation has been stuck for hours because no one tried the mirror.
Practise, but with Ethics
Geolocation is learned through practice: there are online communities and daily challenges where thousands of people train with proposed images, and starting with landscapes and public locations is the best school. But these same techniques applied to private individuals are a different matter entirely. Locating someone's home from their photos can enable harassment or worse. Personal data is regulated by GDPR in the European Union and by equivalent frameworks elsewhere. The golden rule: geolocate places and events of legitimate public interest, not the lives of private individuals. If you are unsure whether an exercise crosses the line, it probably does.
Geolocation does not stand alone: it is one component within broader verification workflows, such as checking the authenticity of a viral video, and it relies on an ecosystem of free OSINT tools worth understanding before reaching for paid solutions.
Frequently Asked Questions
Can any photo be geolocated?
No, and accepting this is part of the method. The image must contain sufficient clues: identifiable constructed elements, recognisable terrain, readable signs, or characteristic vegetation. A blank wall, a generic interior, or a tight close-up with no background may be impossible to place using open sources. A skilled investigator distinguishes between "cannot be determined" and forcing a weak conclusion: the former is intellectual honesty; the latter is an error.
What is EXIF metadata?
It is the technical information a camera or phone embeds in the image file at the moment of capture: device model, date and time, exposure settings, and -- if location was active -- the exact GPS coordinates. It is viewable with free metadata viewers. It is the fastest geolocation route, with two important caveats: it can be forged, so cross-checking against the visual content is always advisable, and major platforms strip it when processing uploaded images.
What do I do if the image has no metadata?
Move to the visual method, which is the typical scenario. Inventory the clues in the image (language, licence plates, architecture, vegetation, street furniture, brands, terrain), form a regional hypothesis, run reverse image searches on the full image and on crops of distinctive elements, and confirm the candidate with maps, satellite view, and street-level imagery -- demanding correspondence across several independent features. It is slower than reading a set of coordinates, but it works in most images that contain sufficient clues.
Is it legal to geolocate photos of other people?
Analysing a publicly accessible image is, in general, legal: there is no intrusion or unauthorised access involved. But the use of the result may not be. Identifying and publishing someone's home address, or using a location to surveil or harass a person, can constitute a criminal offence. Personal data is regulated by GDPR in the EU and by equivalent laws in many other jurisdictions. Always apply the criteria of legitimate interest and proportionality: verifying where a newsworthy event occurred is one thing; tracking the movements of a private citizen is quite another.
Conclusion
Geolocating a photo is less a trick and more a craft: looking systematically, hypothesising carefully, confirming rigorously, and documenting honestly. Metadata solves the easy case that rarely comes your way; visual analysis solves the rest, and it improves visibly with every image you practise on. Add shadow analysis to constrain the time and live sources to verify the present, and you have the complete cycle: where, when, and what it looks like right now.
For that final step -- looking at the present -- there is no substitute for live sources. You can open the map and explore thousands of geolocated official public cameras: the perfect tool to close a geolocation by checking, in real time, the very place you have just found.
Frequently asked questions
Can any photo be geolocated?
No. The image must contain sufficient clues: recognizable built structures, distinctive terrain, readable signs, or characteristic vegetation. A blank wall or a tight close-up with no background may be impossible to place. Acknowledging what cannot be determined is part of the method.
What is EXIF metadata?
Technical information embedded in an image file by the camera or phone at the moment of capture: device model, date and time, exposure settings, and (if location was enabled) the exact GPS coordinates. It is the fastest geolocation route, but major platforms strip it when images are uploaded.
What do I do if the image has no metadata?
Switch to the visual method: inventory the clues in the image (language, licence plates, architecture, vegetation, terrain), form a regional hypothesis, run reverse image searches, and confirm with satellite view and street-level imagery. It is slower, but it works in most cases where sufficient visual clues are present.
Is it legal to geolocate photos of other people?
Analysing a publicly available image is generally legal, but the use of the result may not be. Identifying someone's home address in order to harass or surveil them can constitute a criminal offence, and personal data is protected by GDPR in the EU and by equivalent laws in other jurisdictions. The practical rule: geolocate places and events of legitimate public interest, not private individuals.
- Live Cameras as a Journalistic Verification Tool
- The Ethics of OSINT: What Is Legal to Investigate with Open Sources
- How to Get Started With OSINT: Beginner's Guide & Free Tools
- OSINT Examples: 8 Techniques You Can Try Today
- Ukraine War Map, Live: Front Lines and Black Sea Ships
- Area 51 Live Map: What Open Sources Really Show Over Groom Lake